

We are using the Revit® Snowdon Towers 2.0 sample building as a worked example for a Single Building Cost Plan. The elements are grouped into Substructure, Superstructure, Finishes, Fittings and Services.
First, you will need to install Autodesk® Revit® and the QSKing QTO plugin on your laptop or desktop. I recommend downloading the free 30-day trial to get familiar with the user interface, while referring to 5D BIM Cost Planning Explained alongside it.
In Revit, the project you open is called the Host. The Host project uses the Manage Links function to bring in and open models from other disciplines. The Host model has access to the full functionality Revit provides, but linked models do not. Linked models have a more restricted interface than the Host; for example, to select an element within a linked model, you need to press the Tab key and then click with the mouse. However, this does not stop us from running QTO to extract quantities.
In this worked example, we will open the Host project and then use Manage Links to bring in all five (5) linked models: Architectural, Structural, HVAC, Electrical and Plumbing.
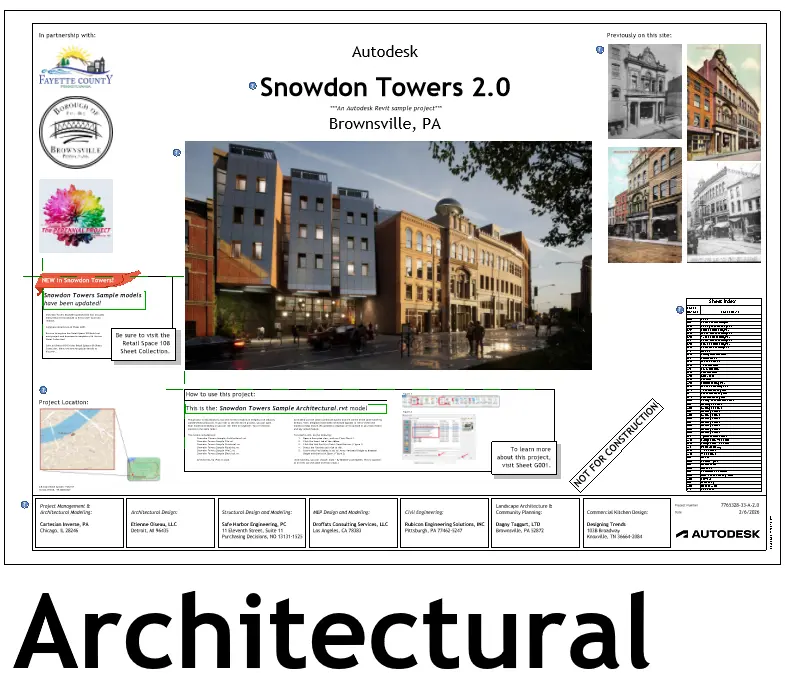
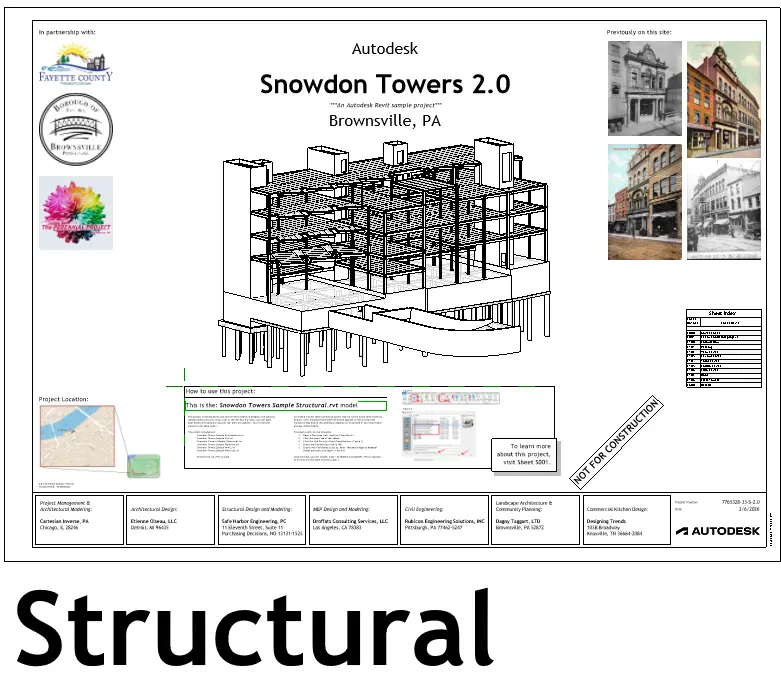
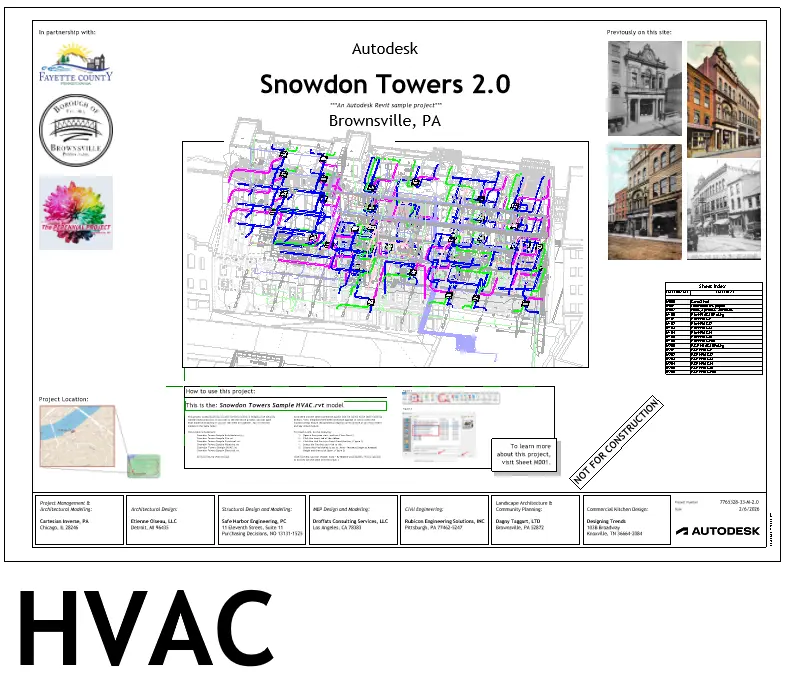
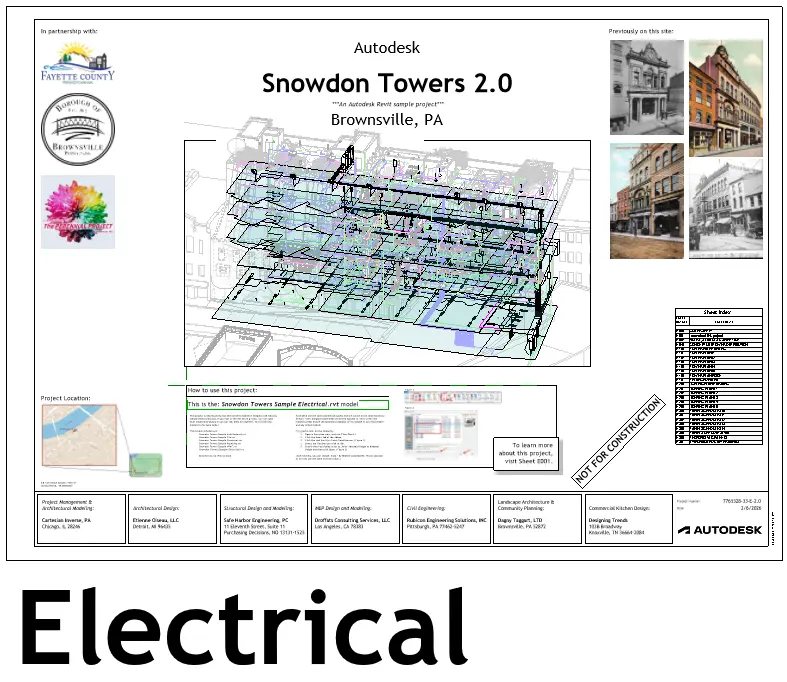
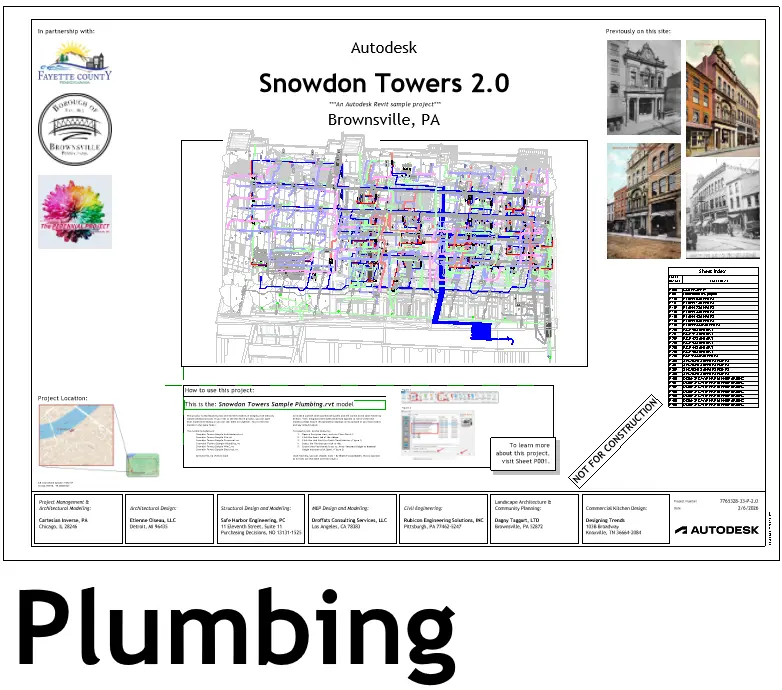
Let’s get started
Open a New project, select Metric Multi-discipline.
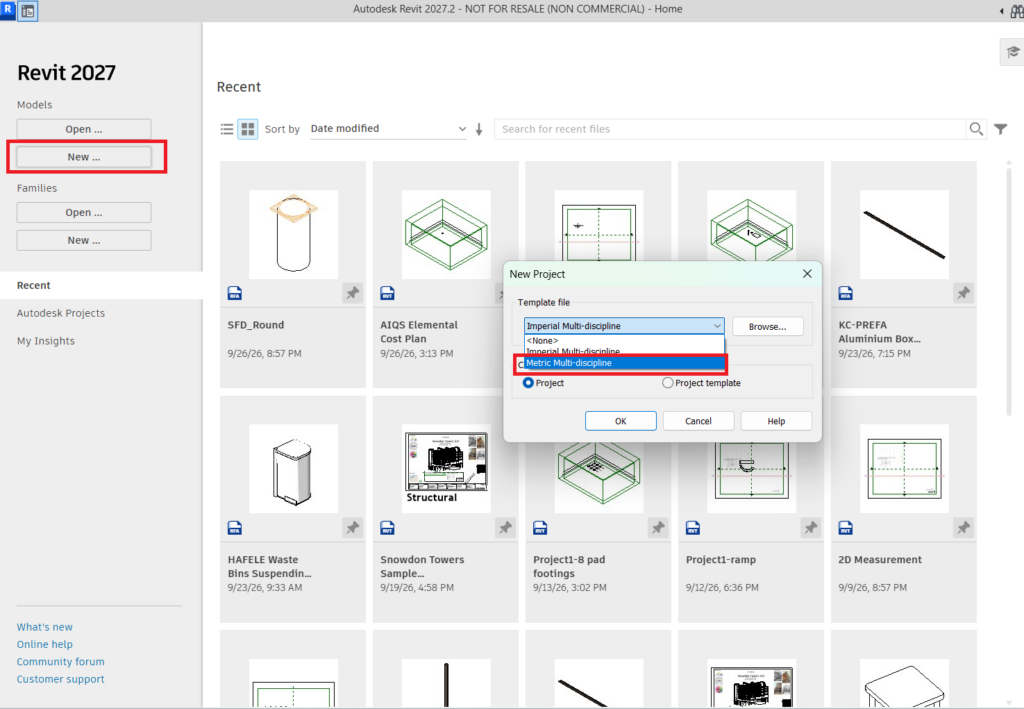
Setting Up Elemental Cost Plan Summary on Workbook
Click QSKing QTO in the top-right menu to open the command ribbon. Select QTO Panel to open the QTO Schedule. Before you can open the Workbook from the QTO Schedule, you need to create an element. Otherwise, a message box will pop up showing “Please run QTO extraction first.” This reminds the user that the Workbook has not yet been activated.
Lets activate the Workbook by creating a pad footing.
Create a Pad Footing
Click the View tab and select 3D View. Click the Structure tab and select Isolated Foundation: Isolated. The Properties panel will appear on the middle left. Select M_Footing-Rectangular 1800 x 1200 x 450mm (this is the element Type) and place it within the 3D View box on the canvas. Then click the Modify button at top left corner to release the selection (you can also release it by pressing the Esc key twice).
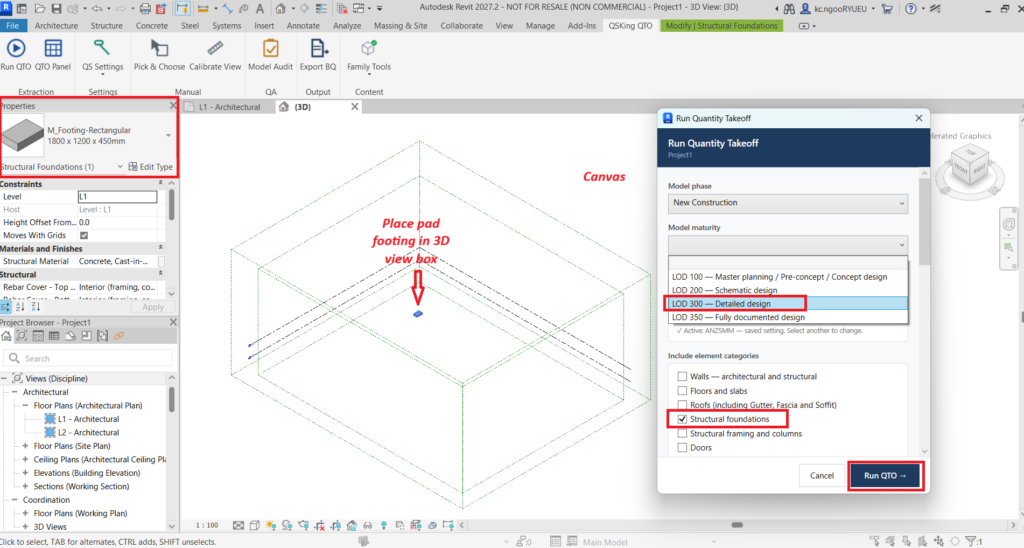
Now go back to the command ribbon and select the Run QTO command. On the Run Quantity Takeoff panel, select LOD 300 – Detailed design, tick the Structural foundations check box and click the Run QTO button. The QTO Schedule will appear, showing a line item for the pad footing, along with a message box reading “1 elements extracted, First run – no previous snapshot.” Click OK to close the message box. We will explain the line items in more detail later.
Key in Elemental Summary
Now click the Workbook button on the QTO Schedule. The Workbook will open, ready for you to enter the Elemental Cost Plan Summary. Take note of the summing up feature with ∑ symbol of the subtotal in the H: Total column. For example, to sum the total for SUBSTRUCTURE SUBTOTAL from rows 2 to 3, enter H: Total Sum(row 2:3).
The completed Elemental Cost Plan Summary will look like this:
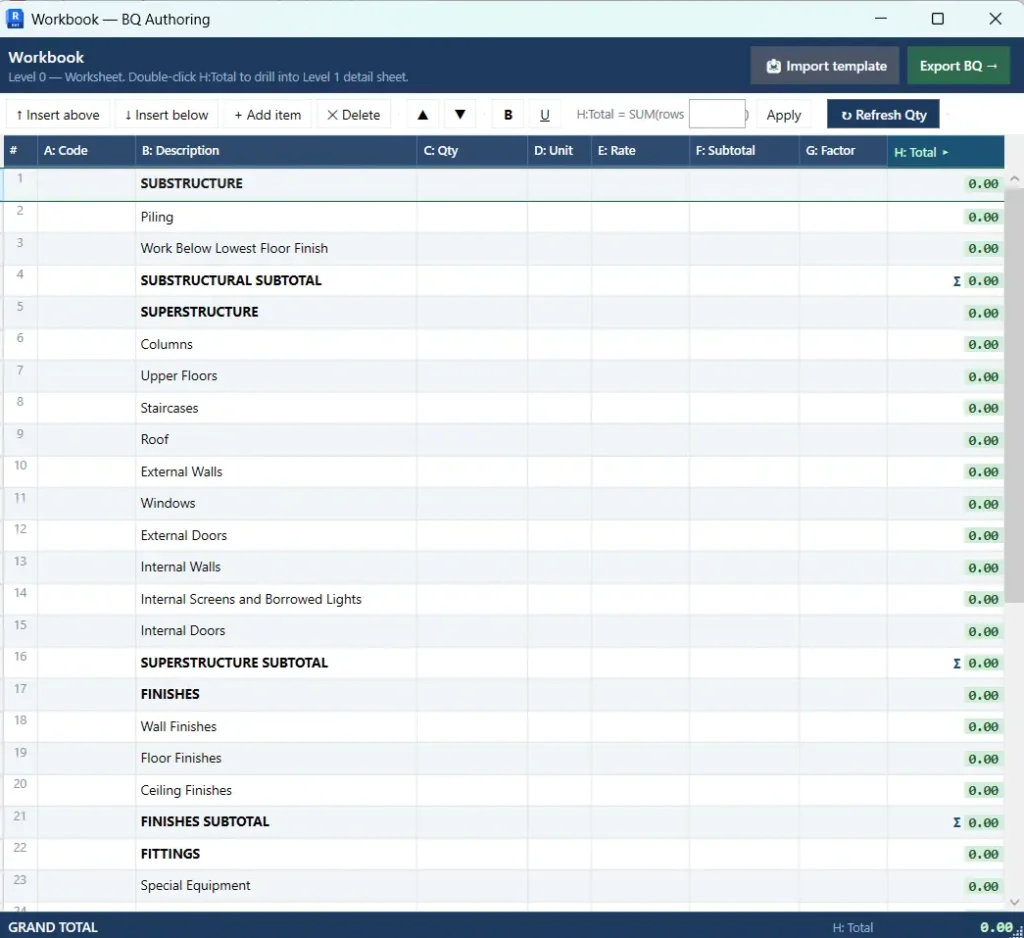
Once completed, the Elemental Summary can be reused as a template for future projects, saving you from retyping it. To save it as a template, click Export BQ and an Excel file will be created instantly. To use it in a new project, open that project’s Workbook and use the Import Template function.
Save Project and Open up Linked Models
Proceed to save the project as Project – Snowdon Towers 2.0 Explained. This becomes the Host file. We are going to extract the quantities for the Substructure, so the first linked model we will open is the Structural model.
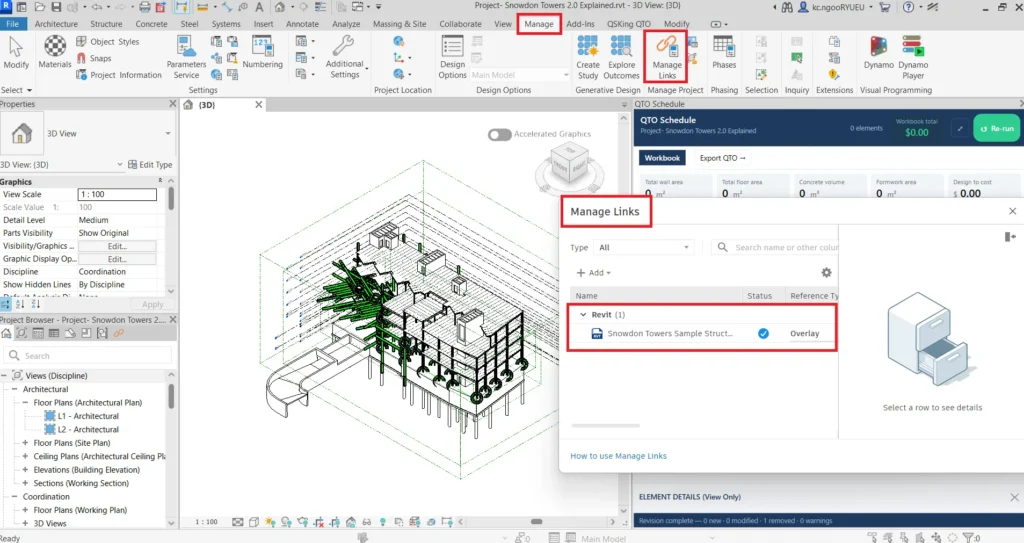
You can now remove the pad footing you created earlier to set up the Workbook. Use your mouse to select the pad footing, press Delete on your keyboard, then click the Re-run button on the QTO Schedule to remove the line item. If you don’t remove it, it will remain as a Host quantity, but it can easily be separated from the linked model quantities using the Advanced options – Include linked models check box on the Run Quantity Takeoff panel.
Note that quantities from linked models will not be extracted until the Advanced options – Include linked models check box on the Run Quantity Takeoff panel is ticked.
To open a linked model, click the Insert tab and select Link Revit. Select the Snowdon Towers 2.0 Structural sample. The file is located at:
C:\Program Files\Autodesk\Revit 2027\Samples\Snowdon Towers Sample Structural.rvt
The Import/Link RVT panel lets you set the model positioning. Keep the default, Auto – Internal Origin to Internal Origin, and click Open.
The Structural model is now linked to the Host. The linked file will stay in the Host unless you remove it using the Remove function in the Manage Links panel. When a new version of the linked model is issued, use the Reload function to update it, so you can continue working on your cost plan with the latest model.
Any previous cost plan work on the earlier model will not be affected. Changes to existing elements will be updated instantly, leaving only the new elements to be assessed and linked to the Workbook.
Gross Floor Area (GFA)
The sum if the "Fully Enclosed Covered Area" and "Unenclosed Covered Area". The Unit of Measurement: Square Metre (m2)
Use Area function to measure GFA. Watch this video.
Now we are ready to move on to extracting the quantities for the cost plan, following the workflow discussed in 3.0 5D BIM is Billing Process.
Costing
QS Cost Plan costing
The rates used in the Workbook under E:Rate are for illustration purposes only. They are not current rates and should not be applied to your projects.
Design to Cost
To calculate the Design to Cost total, enter the all-in rate in the Cost parameter (Type Properties).