
Why Autodesk® Revit® Platform
QSKing is the QS platform that reads native models. It lives in native model platform like Revit, Tekla, ArchiCAD. Starting with Revit (.rvt), QSKing proves it native BIM quantities extraction capabilities – “Live quantities, Zero re-work”. See the following Worked Example 1.
Worked Example 1:
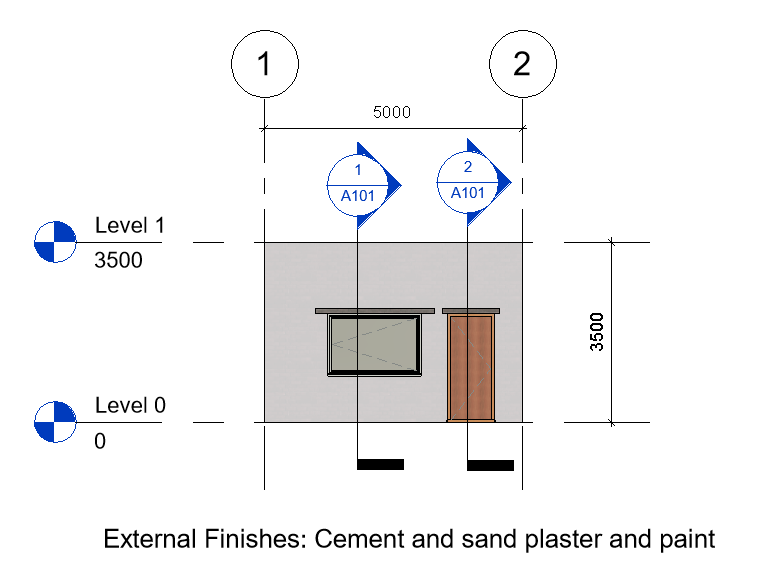
A simple 5000 x 3500 high brick wall with a window and external door modeled on Revit would have 10 measurable items and cost breakdown as follows:
- External Walls – 1 item ($2,142.40)
- Window and External Doors – 5 items ($2,410.00)
- Finishes – 1 item ($535.00)
- Painting – 3 items ($616.20)
Total BQ item = 10 (Total Cost = $5,704.20).
To illustrate the instant update of design changes in Revit, we remove both the window and external doors. For this, the Architect could remove them within seconds and the brick wall would just auto-update to it original brick wall state without the window and external door.
To update the quantities and costs, Revit BIM QTO with QSKing plugin will provide instant update (Watch this video to understand the instant update logic). As for those using on-screen measurement software, it will take a few minutes to go through the Omission and Additions process to finalize the numbers. For a sizeable project, the updating of numbers might take up hours or even days.
To take advantage of this Revit BIM QTO, you do not need to be fully proficient in all of Revit’s modeling tools. You just need to understand the following basic Revit functions and user Interface relevant to QTO purpose.
Bear in mind that you are not suppose to make any changes to the model. However, you can use QSKing plugin to extract all quantities your needed for the preparation of Bills of Quantities without a single change to the model.
Revit Functions For QTO
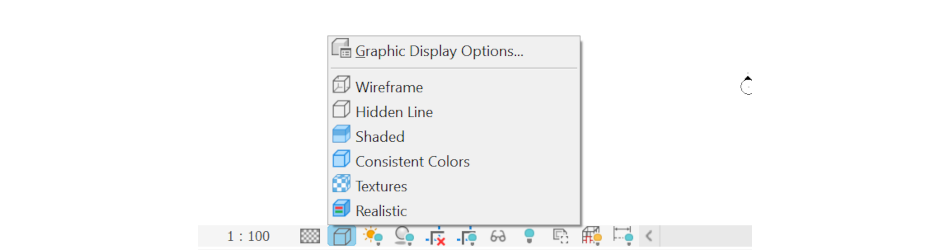
3D View, Temporary Hide / Isolate, Reveal Hidden Elements, Visual Style: Hidden Line Selection, Section Box
The Revit user interface provides all the tools you need for Quantity Takeoff (QTO). If you are an existing user of commercial 2D/3D measurement software (e.g., DWF, DWFX, IFC) such as CostX, Buildsoft, or Bluebeam, you should be able to become familiar with it after just a few minutes of hands-on training.
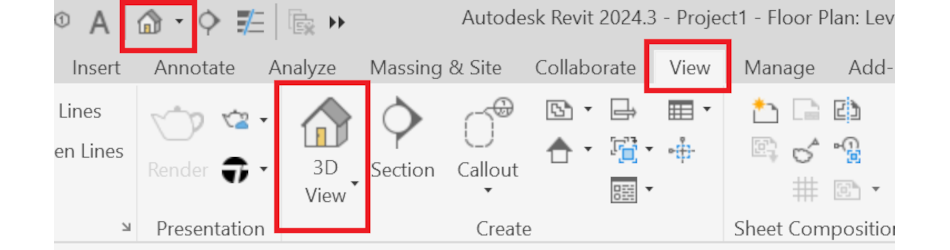
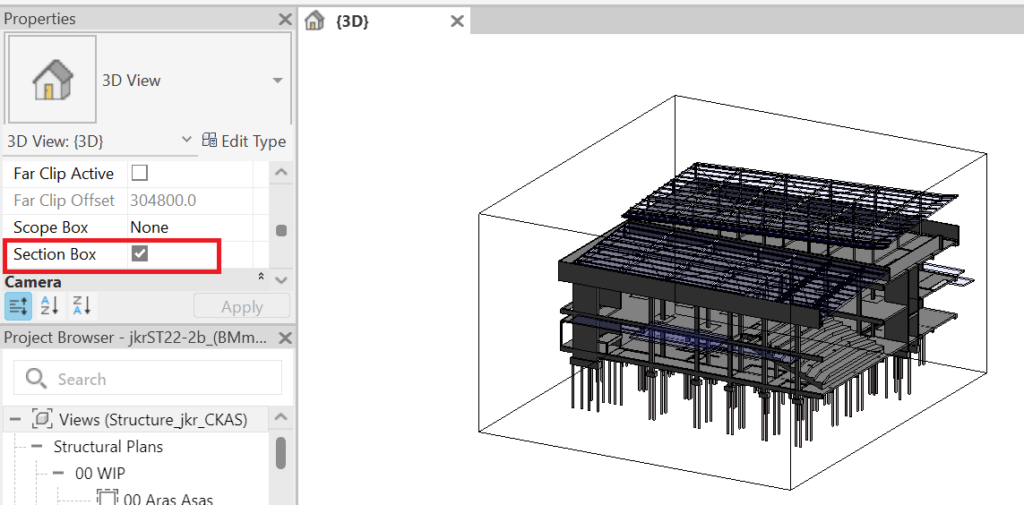
The most commonly used tools are the 3D View ribbon (Fig. 1.0) and the Section Box (Fig. 1.1).
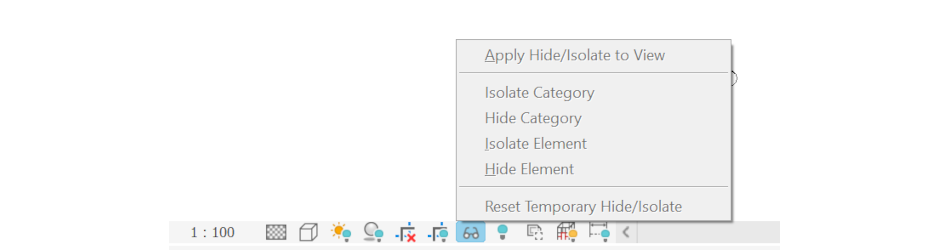
Other function like: 1. Temporary Hide / Isolate 2. Reveal Hidden Elements 3. Visual Style: Hidden Line as shown below (Fig. 1.2.1-2)

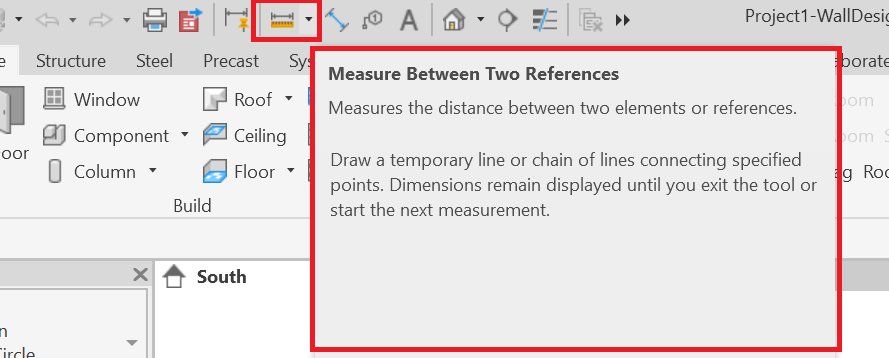
Another useful function is the measurement of two points. It is similar to traditional scale ruler used on those printed drawings (Fig. 1.3). Just click two points to determine the length of the element.
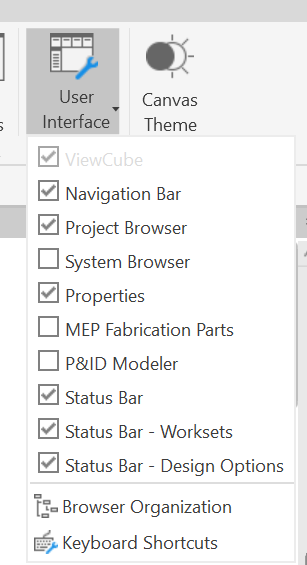
Revit User Interface
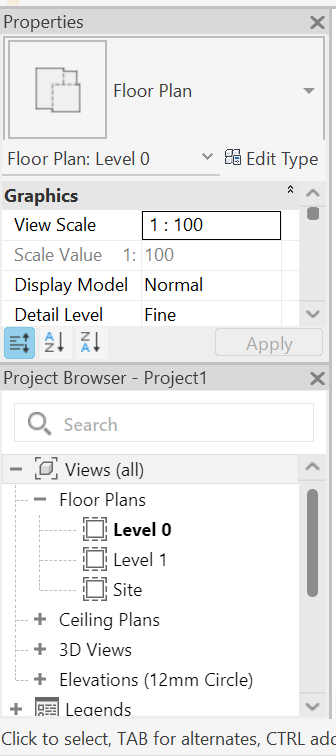
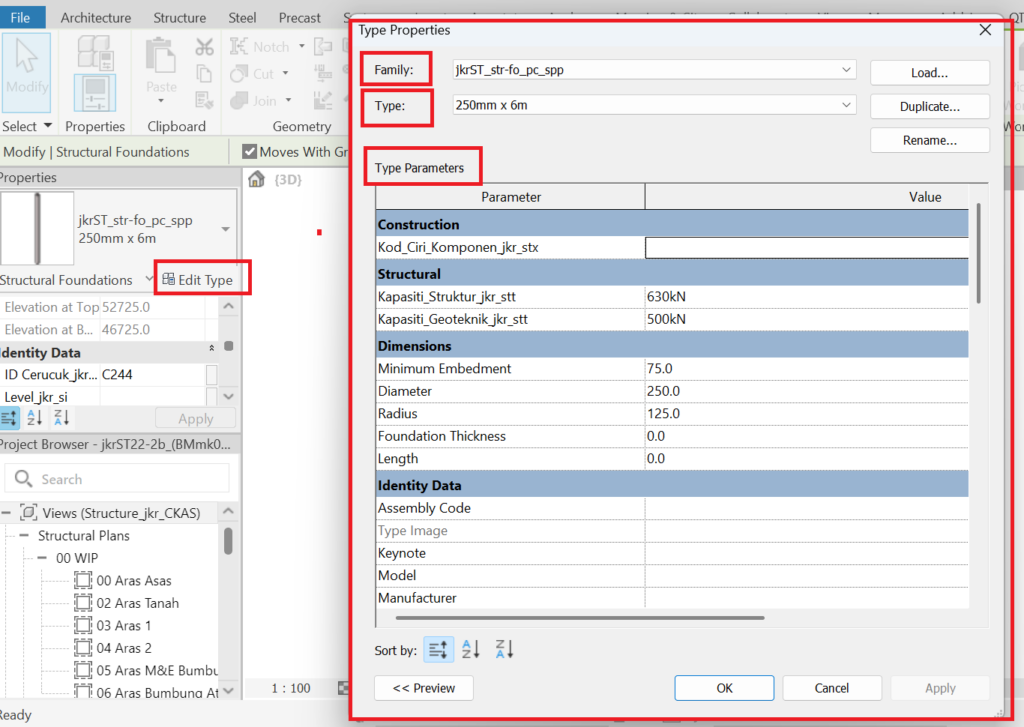
Two most commonly use interface are Properties Palette and the Project Browser. Properties Palette (Fig. 1.4) shows element instances and Edit Type option (Fig. 1.5).
Revit Hierarchy Vs ANZSMM 2022
When QTO, we need to know exactly what we are going to measure and how we are going to group them. One good thing about Revit is that its element hierarchy can be mapped on ANZSMM grouping (Table 2.0). You need to understand the following terminology used in Revit.
| Revit 2024 | ANZSMM 2022 |
|---|---|
| Element (Everything listed below, each assigned a unique Element ID). | Measurable item |
| Category (Structural Foundations, Doors, Windows, Walls) | Trade |
| Family (Isolated Footing, or Wall Footing, or Slab) | Main Heading |
| Type (Concrete – Rectangular: 1200 x 1200 x 450mm) | Sub-heading |
| Instances (Foundation ID #F102) | Full Description |
| Table 2.0: Revit Hierarchy Vs ANZSMM 2022 |